Showing posts with label UGCloud. Show all posts

Friday, 3 October 2014

October 3rd, 2014 – Taking Your Classroom Virtual

Happy Friday Everyone!

You may have noticed that our UGCloud homepage has a new icon – Google Classroom.  This is a quick and very user-friendly way to take your class into the cloud.  Here you can assign projects and share documents, and your students can receive, complete and hand-in assignments, paper free and without fear of losing any of their materials.  Instructors who teach more than one class can easily organize assignments by class and maintain a portfolio of individual student’s work.  I encourage teachers to give it a try with their students.

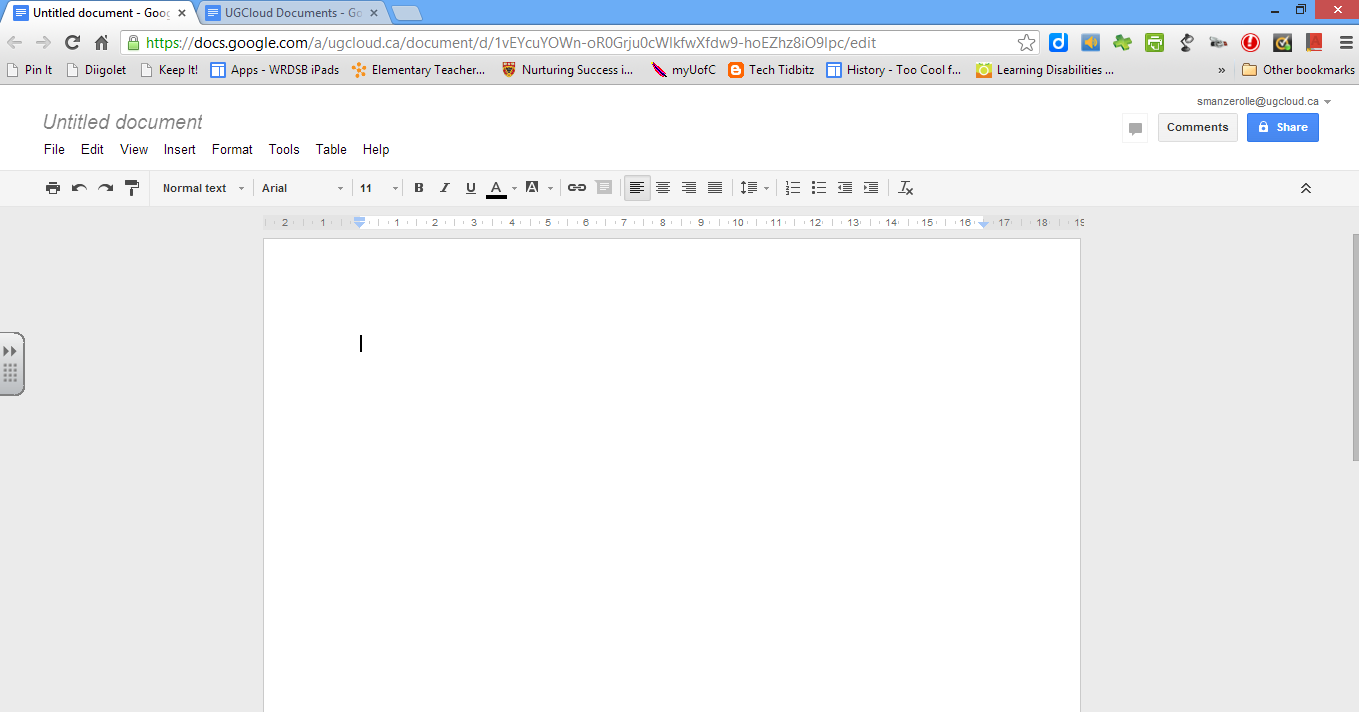
From the UGCLoud homepage (www.ugcloud.ca) sign on to your account and click the icon for Google Classroom.  From here you can click on the + sign in the upper right hand corner, next to your UGCloud email address and then drop down to ‘Create Class’.  A new window will pop-up asking for details regarding your new class.  Enter an identifier for the class such as ‘Mrs. Smith’s Class’ or ENG 402.  There is an option to include the section of the class however this is not required to be filled in, then click ‘Create”. 


Next, you will be taken to your new class’s home page.  From here you can begin to invite students to your class via email or with the class code.   To individually invite students click on ‘students’ in the center bar and then ‘Invite’, and type the student’s name in the search bar and enter.  When the correct student’s name is listed, click on it and they will receive an invitation to join your classroom. 
Alternatively, you can view a ‘class code’ on the left hand side, which students can use to access the classroom and join themselves.  When students log into the cloud they can click on the Classroom icon and then the + in the upper right hand corner then select ‘join classroom’.  They will be asked to enter the class code and will then be directed to the correct classroom.

From your classroom homepage you can send out announcements regarding the course, or distribute assignments to students. 

Announcements – simply type your message into the ‘Share with your class box’ and click ‘post’ and it will appear in your class news stream.

Assignments – click on the ‘assignment’ box and begin filling in information about the upcoming assignment.  Don’t forget to update the due date.  If you wish to include a document for students to full out or complete you can select if from your Google Drive as part of the assignment.  When a document has been selected to be a part of your assignment, you will se another drop down menu to the right of the document, which allows you to let ‘students view the file’, ‘edit the file’ or ‘make a copy for each student’.  By making a copy for each student there is no risk of one student changing the words or look of the assignment and altering it for the whole class.  Students receive the documents and can complete, edit, revise and turn it in, all online.
When assignments are turned in, you will receive the completed documents in your Google Drive in a folder titled Classroom and a sub-folder with that class’s name (Mrs. Smith’s Grade 4s).  Additionally, the student’s name and assignment name are the title of the document, so there is no struggling to see who has handed in the project and who still needs to complete it.
Google classroom is an easy way to make your class paperless while tracking student’s work and progress.  The format is very user friendly and all of the documents are quickly organized for you in your Google Drive.

Please don’t be afraid to give the Classroom a try and if there are any questions please feel free to ask!
Thanks and have a great weekend!
Stace


Friday, 19 September 2014

September 19, 2014 – Read&Write

Welcome back to a new school year!  I hope that everyone has had the opportunity to get settled with their new students, roles and possibly schools.

This week I’d like to share with you some of the new and exciting functions offered by Read & Write on UGCloud. 

First, ensure that your students have access to the Read & Write function.  When they open a new Google document, the Read& Write symbol (see image at the right) should appear at the top of the window just under the web address bar.  If this is not present then ensure that the student has signed into Chrome on a desktop or laptop in the school.  Signing into chrome from a mobile devise such as an iPad or Chromebook will not ensure the availability of the Read&Write function. Here’s how to sign into Chrome…
  • Click on the chrome symbol to open Google chrome web browser on your computer
  • Click on the ‘Hot dogs’ in the upper right hand corner of the web address bar  (there is a more technical term for this icon but the kids understand the ‘hotdogs’ best) and it will open a drop down menu
  • Scan down until you see ‘sign into chrome’ and click on it
  • Sign in with you UGCloud email (first initial last name @ugcloud.ca) and password
  • Go to www.ugcloud.ca and sign in as staff or student with user name and password
  • A pop up window should open asking if you would like to ‘link your data’, click to link
  • This should open more tabs on your computer (all of the applications and extensions) 
  • They may need to be ‘accepted’ for them to work on your computer, however this will likely only need to be done the first time

Once you have allowed Read&Write on your account, this tool bar will appear at the top of the page when you open or create a Google doc.


This is called the ‘Study Skills’ toolbar and is where you will find the icons for the app.  If you are having trouble seeing the toolbar for the document you can click on the double arrow on the icon (pull down) it will hide it for you.  Similarly, if you would like to use the study skills toolbar just click on the double down arrows and it will re-emerge for you.

You may notice that there are a couple new icons on the tool bar –


is the crystal ball and allows the student to access the new word prediction tool, and 


is the audio headset which opens the voice to text feature.


Word Predictor - By clicking on this icon while working in a Google doc, a small window will appear near the cursor and begin to offer potential word options as you begin to type.  When the word you wish to use appears, simply click on the word in the box to insert the words, or hover their mouse over the words to get them read aloud.  Although similar to Word Q, this tool does not require students to open multiple programs, which will need to work together; it’s all right in the Google doc.

Voice-to-Text – When working in a Google doc, simply clicking on this tool and speaking into the device’s built-in microphone, or an externally added microphone/headset combination, the program will recognize your speech and convert it to text, writing it directly into the doc for you.  There may need to be some additional editing for punctuation or slightly misheard words (i.e. ball written for fall) however this will offer far more opportunities for students whose typing skills are holding them back from sharing their knowledge.  One thing to note is that while the internal device’s microphone may be sufficient for use in quieter settings, utilizing a microphone/headphone combination headset will offer the best results when working in a busy classroom.

Following the motto of ‘what is good for some, is good for all’, these new tools are now accessible on ALL UGCloud accounts, not only on SEA Equipment devices, so any of our students can have the opportunity to share their knowledge, thoughts and creativity without restrictions.

If you require additional information regarding Read&Write on the UGCloud, please feel free to contact me.  Additionally, past Tech Tidbits posts can be found on my blog at http://techtidbitz.blogspot.ca.

Cheers and have a great weekend,
Stace


Friday, 25 April 2014

April 25, 2014 - 'Add-On' to Your Google Know How

Happy Sunny Friday everyone!!

This week I would like to share a new Google tool which is meant to be used in conjunction with Google Docs and Sheets on the UGCloud.  You may have noticed the ‘Add-Ons’ in the tool bar within the Google Docs page and wondered about its use (see image).

Similar to Google Extensions (Read&Write, Google Dictionary, etc.), Add-Ons improve ease of use and increase the possibilities linked to the documents you (and your students) can create.  Some ideal add-ons to begin with include:
Openclipart- access to over 50 000 clip art images while working in a Google Doc


Easybib – have a bibliography created for you in APA, MLA or Chicago style by pasting in a book ISBN, title or web address into the search box


Table of contents – creates a table of contents right in your document for you


Thesaurus - an in-document thesaurus to aid in word choice and selection


To download an add-on, click on "Add-ons" in the top menu bar and select "Get add-ons."
A pop-up window will open with a variety of add-ons to choose from. You can search out the preferred add-on by typing in the search box or simply browse for something that catches your eye.

 Once you find the one you wish to install, you can either hover over it and then click on ‘free’ or click on it for more information, and then tap ‘free’ to download it to your account.  A final window will appear asking for permission to access your information; simply click ‘Accept’ and the add-on will be available to you immediately in your document or spreadsheet.


To access your add-ons while working within the document, simply click on the ‘add-ons’ drop down in the tool bar and select the add-on you wish to use.  The add-on will open a communication box on the right and side of your document where you can utilize its capabilities and resources.   


Add-ons you no longer feel as desired can be removed by clicking on the add-on drop down menu and selecting ‘manage add-ons’.  Then click on the ‘manage’ box linked to the add-on you wish to have removed and when the drop down menu appears selecting the ‘remove’ option.

I have found many of these tools to be extremely useful (especially Easybib!) and hope that you too can benefit from them.  Please give them a try and let me know if you have found any others that need to be shared 

Have a great weekend!
Stace


Friday, 15 November 2013

November 15, 2013 - Password Proficiency

Hello everyone,

This week, I thought I would try to take some of the frustration out of Student Log-Ins on UGCloud.   Many times teachers come to me asking who they need to speak to so that they can have student’s passwords reset because the student has forgotten them.  The good news is that teachers can now perform this task for their students, on their own quickly and easily.  

Begin by signing onto UGCloud (www.ugcloud.ca) from a laptop, Chromebook or iPad using your windows username and password.  You will then be directed to a home page with many options such as the one below.

Under ‘Apps & Other Services’ you will see a variety of bars indicating links to various UGDSB frequently used websites. By clicking on the top orange bar in the left hand list marked ‘Student Service (Teacher Only)’ you will be taken to a new webpage where a pop-up window will ask you to log in once again (the board is working towards having staff required to only sign onto the system once in order to have access to all of the resources, however this remains a work in progress).   Once logged in, you will be able to search for an entire classroom or individual student by name using the drop down and fillable menus and by clicking on search.  

Once you have identified the student you wish to change the password for, click on the linked word ‘select’ to the left of their name.  Next, return to the top of the page and on the upper right hand side you will find a fillable textbox in which you can enter a new password for the student (and confirm it by re-entering the same password).
 Passwords entered at this point need to be 8 characters long – one simple choice which can be used frequently is ‘student1’.  After this process is completed, you will note a message above the password entry boxes stating ‘Reset StMan1234’s Password Succeed’.  This is your indication that the password has been reset and the student can try to log in with the newly reset password (student1, etc.)  Finally, when the student logs into his or her account after this process, they will be asked to reset their password to one which they will remember.  This time the new password is not required to be eight characters, so while it is not recommended for security purposes, students can choose shorter words which they will be able to easily remember. 

If there are any questions or ideas for future Tech Tidbits topics, please feel free to pass them along to me or visit the blog at techtidbitz.blogspot.com .

Cheers,
Stace


Friday, 8 November 2013

November 8, 2013 - Using the Template Gallery

Happy Cold and Snowy Friday Everyone!!

By now I’m fairly certain that almost everyone has become at least a somewhat familiar with the creating of Google Docs, so today I’d like to share how you can use templates to enhance your writing experience. 
http://fc.ugdsb.on.ca/Login/FOV1-00058FB3/S068CB84B.0/from_template.png

Begin by logging onto your UGCloud account and clicking on the drive icon.  From here, click on the red ‘create’ box and choose the type of document you would like to create (form, spreadsheet, document, presentation, etc).  Once your new document has been created, click on ‘file’ in the toolbar and select ‘new’ from the dropdown menu.   Here another menu will open to the right of the current menu and you can select ‘From Template’. 

Another window will open which will display the various types of templates available (i.e. resume, newspaper, storyboard, etc.)  In the search box you can type a keyword to search all templates or you can use any of the more specific selections on the left hand side of the webpage (‘narrow by type’ or by ‘category’). 

The templates default to searching the ones created by the UGDSB Staff as indicated by the highlighted tab at the top of the page.  To change to ‘Public Templates’ or ‘Templates I Have Used’ simply click on the hyperlinked words and the search category will change as well. 

http://fc.ugdsb.on.ca/Login/FOV1-00058FB3/S068CB84B.2/Tabs.png


Once you have found a template which you feel may be suitable for your task, simply click on the thumbnail image of the template.  A preview of the template will open in a new window so you can take a closer look and determine if it is what will work with your assignment.  If you feel that this is not what you were looking for, click on ‘close this window’ in the upper right hand corner or ‘browse template gallery’ and you will be taken back to your previous search.  If however, this template is suitable, simply click on the ‘Use this Template’ button in the upper left hand corner and a copy of it will be downloaded and added to your Google Drive where you can begin typing.

Templates for resumes, newspapers, lesson planners, daily schedules, brochures, storyboards and more, can all be found in the template gallery.  Have a look and see if there’s something you might be able to use for yourself or your students’ next project.

Cheers,
Stace


Friday, 21 June 2013

June 21, 2013 – Technology is ‘Child’s Play’

Happy Summer Everyone!! 

As June is drawing to a close and school is about to take a hiatus for the summer months, so too will the Tech Tidbits Newsletter and Blog.  I have truly enjoyed writing the weekly tech tips and look forward to starting up again in the fall with many more new and interesting ideas.  Until then, I have one additional thought for you to take with you over the summer months - Technology is ‘Child’s Play’.  Earlier this week, I was speaking with a colleague about a recent visit with her granddaughter, who is just over two years old.  She was amazed to watch her adeptly maneuver the toy she was playing with.  Later she found out that the toy which had kept her interest for such a long time was in fact a smartphone.  This is just one example of the fearlessness and curiosity which takes over when children are given the opportunity to experiment with technology.  Over the summer months I challenge you to play with some form of technology.  Whether it is a tablet, a new app, the UGCloud or some other form of technology let your inner child out to play and explore. 

There are some fantastic opportunities to learn about utilizing technology in the classroom coming up and I encourage you to take advantage of some of these wonderful events.  The UGDSB Summer Institute will be held at Elora Public School on July 3rd and 4th and offers some exciting sessions on the UGCloud and Technology Fun.  You can sign up on PD Place.   In September, the board will be facilitating a series of online, face-to-face and afterschool workshops to help staff with introducing a ‘Bring Your Own Device (BYOD) Program’ to your school.  Ask your administration for details if you are interested in attending.  Also, the Educational Computing Organization of Ontario will be having their Annual Conference, ‘Bring IT Together’, in Niagara Falls on October 23rd, 24th and 25th.  With over 200 speakers, numerous vendors and fantastic key notes, you are certain to learn some new tools to use in your classroom.  More information is available at http://bringittogether.ca/ 

Finally, thank you so much for participating in the weekly newsletter and blog over the past few months!  I never imagined it would gain the interest it has, and I look forward to connecting with you again in the fall.  Until then, if there is a topic you would like to revisit or a new technique you would like to try, all of my previous posts are available online at http://techtidbitz.blogspot.ca/ .  You can leave a comment or search out information on previous posts. 

Thanks again and have a very relaxing and playful summer,
Stace

Thursday, 13 June 2013

June 14, 2013 - Skywriting (Documents in the Cloud)

Happy Sunny June Friday Everyone!

I have been receiving many questions about the process of creating documents on the UGCloud.  As a result, I thought I would write up a quick set of step-by-step instructions on how to create a basic document on the cloud.  If you are interested in the other types of documents listed (presentations, forms, spreadsheets, etc.) please feel free to email me and I will gladly create a similar 'how to' file. Enjoy!

Log on to UGCloud
  1. Open Google Chrome web browser
  2. Type www.ugcloud.ca into the address bar
  3. Enter your user id and password (same as you use to log onto the computer - for students first 2 letters of the first name, first 3 letters of the last name and last four digits of their OEN - for teachers first initial and last name - don’t forget to change the domain to ‘staff’ if logging in as a teacher)
  4. You will land on the UGCloud Inbox page by default
  5. Click on Drive in the black toolbar to access the document creator.


Choose the type of document
  1. On the left hand side click on ‘Create’ and a list of possible types of documents will appear under the red ‘create’ box.
  2. These are the following options available:

Google Documents

his is a simple and straightforward word processing program which will allow the students and yourself to write letters, essays and prepare assignments.

Google Presentations
Similar to a powerpoint presentation, Google presentation allows you to change themes, layout, transitions, insert video, and pictures.

Google Spreadsheets
Google’s answer to an excel software, Google Spreadsheets lets you create data charts
and tables using formulas, and by sorting rows and columns.

Google Forms
Google Forms allows you to create online questionnaires, tests and surveys.  They can be combined with spreadsheets to automatically populate the spreadsheet with responses and even return scores to participants.

Google Drawing

Much like Microsoft Visio and Smart Ideas software, Google Drawing is a program which will create mind maps, and diagrams as well as insert images and text boxes

Google Documents
                                   
Once you have chosen to create a Google Document you will be brought to this screen.


To change the name of the document click on the ‘Untitled Document’ in the upper left hand corner and enter your chosen document name then click ‘ok’.  

Click anywhere in the white area and begin typing to create the letter, newsletter, etc.  

To change the font, simply highlight the text with a click and drag (or control and A to select all) then choose the desired font from the drop down menu next to ‘normal text’.  This is also how you can change the size of the font.  To underline, italicize, change the colour or boldface the text simply select the text as above and click on one of the following icons or use the drop down menu under ‘Format’.

To create numeric or dotted bullet points click on one of the following images:
or choose the type you wish from the ‘Format’ menu under ‘line styles’.

Creating a table in the document is easy to do by clicking on ‘Table’ then ‘Insert Table’.  You can hover over the correct number of rows and columns you would like in your table then click on the lower right hand corner of the table you would like created.  It will be inserted into the document where the cursor is being shown.  Additionally you can add or delete columns or rows by using the drop down menu under ‘Table’.

Students can email the document they have created to you (Select 'File' then 'Email as an Attachment') or simply ‘Share’ it with you for assessment or feedback.  By clicking on the Share box in the upper right hand corner they will be able to determine who can view, edit, comment or have ownership of the document.  Here they can also choose how private they would like the document to be (only persons with the link can access, private to only persons with the invitation or open to all of the world wide web).  

They may begin typing names (first or last) into the ‘add people’ bar to find email addresses to share the document with friends and teachers.

Finally, when a document has been shared with you by a student, all of the previous edits have been automatically saved on the Google Drive.  By clicking on the ‘Last edit saved on...’ link at the end of the tool bar you will open another window on the right hand side that will show all previous editions with the changes made in an alternate colour.  If more than one person has been collaborating on the project, each of their contributions will be displayed in separate colours.
 

I hope that this helps clarify the process of writing documents on the UGCloud and if there are any questions or if you would like additional clarification about the procedure, please feel free to contact me via email or on the blog.
Cheers,
Stacey